There’s a quiet crisis unfolding in many finishing departments. I witnessed it last fall while walking through a specialty packaging plant in the Midwest. The owner, Tom, pointed toward a pallet of partially assembled boxes. “See that stack? We started those three days ago. We’re still not done.” The printed sheets were flawless, the cutting was precise, but at the gluing and wrapping stations, things had stalled. A rush order for a spirits brand had pushed everything else aside, and the manual assembly lines simply couldn’t keep up.
Tom’s frustration isn’t unique. As brands demand shorter runs, faster turnarounds, and flawless finishes, the gap between printing capabilities and box forming efficiency has widened into a chasm. The press can churn out hundreds of sheets per hour, but what happens after the ink dries often determines whether a job is profitable or a loss leader.
Understanding the full production flow—and where exactly things go wrong—is the first step toward closing that gap.
Stage 1: Sheet Preparation and the Myth of “Just Print It”
The journey begins long before a box takes shape. It starts with the printed sheet, usually litho-printed on 120-180 gsm paper stock. The quality here sets the ceiling for everything that follows. But there’s a common misunderstanding: many operators assume that if a sheet looks good under shop lights, it’s ready for box making. It’s not.
The real challenge lies in the curing and conditioning phase. Printing inks, especially heavy coverage or metallic inks, need adequate time to fully oxidize and harden. If sheets are rushed into the next stage, the wrapping process becomes a nightmare—ink transfers onto glue belts, offsetting appears on finished trays, and microscopic scratches turn premium boxes into seconds. I’ve seen a single poorly cured batch of metallic gold sheets cause a 15% rejection rate downstream.
The pro move here is environmental discipline. Sheets should rest in a controlled area—stable humidity around 50-55% and temperature near 20°C (68°F)—for at least 24 hours post-printing. This isn’t just about ink curing; it’s about dimensional stability. Paper fibers that absorb moisture during printing need time to relax and normalize. Skip this step, and you’ll be chasing alignment problems through every subsequent station.
Stage 2: The Cardboard Core — Greyboard Mounting
Once sheets are conditioned, they’re mounted onto the rigid core material—typically greyboard (also called chipboard) ranging from 1mm to 3.5mm depending on the box size and required sturdiness. This lamination step is deceptively technical.

The most common failure point here isn’t the glue itself but the application uniformity. Too little adhesive, and you get edge lift or bubbling during the final wrapping. Too much, and the moisture from the glue warps the board, creating a curved panel that refuses to stay flat. The acceptable moisture content for greyboard is typically between 8-12%. Exceed that during lamination, and you’re fighting physics for the rest of the production line.
There’s also the grain direction problem. Paper has grain; greyboard has grain. If these aren’t aligned properly during mounting, the finished box will twist or warp within days of leaving the factory—even if it looked perfect at the quality inspection table. The standard practice for rigid box manufacturing (referenced in many ISO 12647 application guides for packaging) emphasizes cross-grain lamination to balance the inherent tensions.
For short-run operations, this stage remains largely manual. A skilled operator can mount 60-80 sheets per hour with acceptable quality. But at scale, manual mounting introduces variability that compounds through subsequent stages—which brings us to the critical bottleneck.
Stage 3: Cutting and Creasing — Where Precision Compounds
The laminated boards now need to be cut to exact panel dimensions. For a standard rigid box with a lid, base, and optional tray insert, you’re looking at multiple precisely dimensioned pieces. A hinged lid box requires the cover panel, the spine strip, the base tray sides, and the base bottom—each with tolerances that must work together.
The common approach uses a die-cutting or heavy-duty slitting system. For those operating with manual or semi-automated lines, this stage often involves guillotine cutters for straight cuts, plus manual creasing for the hinge folds.
But here’s where the math starts to work against you. A typical gift box might require six individual panels. If each panel has a tolerance of ±0.5mm on a manual cutter, the accumulated error across the box assembly can reach 2-3mm. For a luxury presentation box, that’s the difference between a lid that closes with a satisfying, airtight feel and one that wobbles loosely—or worse, doesn’t close at all.
Stage 4: The Wrapping and Assembly Conundrum
This is the stage that had Tom’s production manager staring at the ceiling at 3 AM. Wrapping—adhering the printed paper or covering material around the formed greyboard panels—is the most labor-intensive and skill-dependent step in the entire process.
Manual wrapping involves several sub-steps for each panel: applying adhesive, positioning the board on the covering material, folding the edges, tucking the corners at clean 45-degree angles, and burnishing to eliminate bubbles. A single tray-style base might require eight separate manual folding and pressing operations.
The skill requirement is genuinely high. Corner folding alone takes weeks of practice to perform consistently. An apprentice might produce boxes with wrinkled corners or visible glue seep for the first month. Even experienced workers slow down after hours of repetitive motion, and the quality drift in the last two hours of a shift is measurable—one packaging consultant I spoke with documented a 22% increase in defect rates during final-shift production versus morning production for the same operators.
Speed-wise, an expert manual wrapper might complete 25-35 boxes per hour for a simple tray style. Complex two-piece telescoping lids with magnetic closures and ribbon pulls? That number drops to perhaps 10-12 per hour. When a customer places an order for 5,000 units needed in two weeks, the labor math becomes impossible without triple shifts and prayer—hence Tom’s stack of partially assembled boxes sitting for three days.
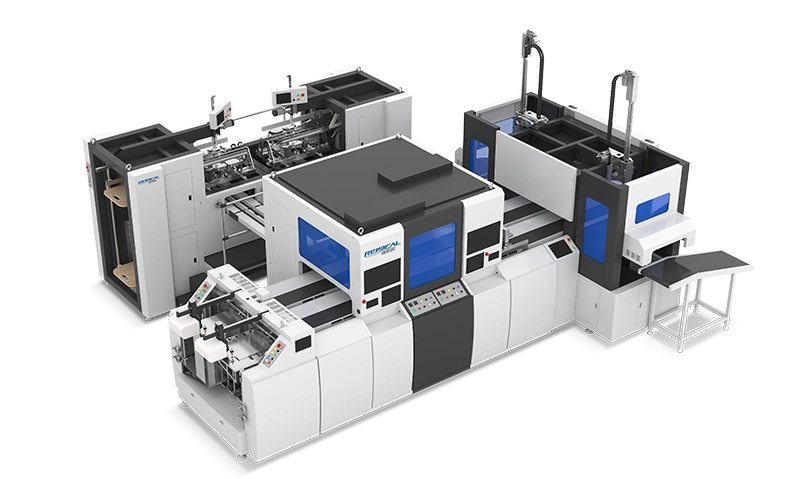
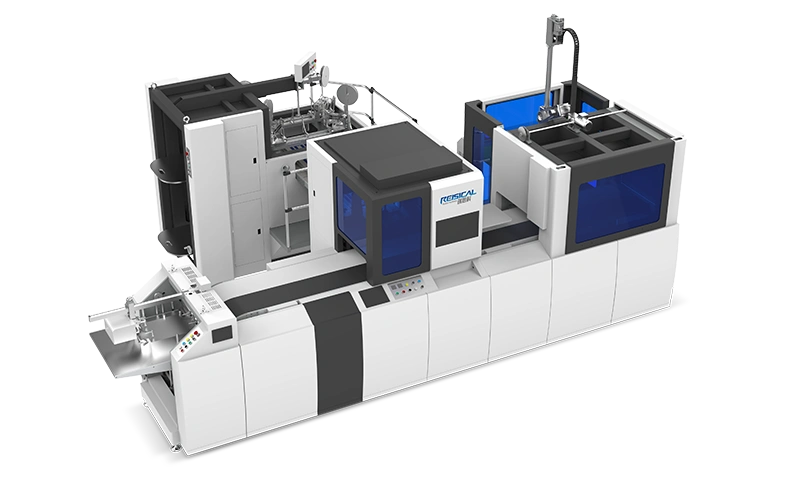
The modern solution that’s reshaping this bottleneck is the adoption of Automatic Rigid Box Making Machines. These systems integrate the wrapping, folding, pressing, and even corner-tucking processes into a continuous flow. Where manual lines struggle to produce 300-400 finished boxes per person per day, an integrated production line can achieve 2,000-3,000 finished units per hour with consistent corner quality that doesn’t degrade over a shift. The consistency is the real game-changer—every box exits the line with the same corner geometry and surface smoothness, something that’s physiologically impossible for human operators to maintain over eight hours.
However, for shops still weighing the investment, understanding the full process matters because it reveals where partial automation can deliver the best ROI. Some operations start by automating only the wrapping stage while keeping mounting and cutting manual. Others tackle the glue application system first. If you’re curious about how different configurations match specific production volumes, you can review this breakdown of wrapping and assembly technology to see what aligns with your current scale.
Stage 5: Finishing Touches and Quality Inspection
The final stage adds the elements that define luxury: magnetic closures, ribbon inserts, foam or satin lining, foil stamping on the assembled box, and any additional embellishments. These steps remain largely manual or semi-automated even in high-output facilities, because the variability of customer specifications makes standardization challenging.
Quality inspection at this stage should follow a checklist approach rather than a casual glance. Critical checks include:
-
Lid alignment: Does the lid sit centered on the base with even overhang on all sides?
-
Corner tightness: Are all corners free of wrinkles, glue marks, or paper tears?
-
Hinge function: For book-style boxes, does the lid open and close smoothly without binding or loosening?
-
Surface integrity: Under angled light, are there any indentations, bubbles, or rub marks on the covering material?
The scrap rate at this final inspection stage tells you everything about your upstream process health. If you’re seeing more than 3-5% rejects at final QC, the root cause isn’t in the finishing department—it’s somewhere in stages 1 through 4, compounded and now visible.
Understanding Where Your Real Bottleneck Lives
If I could offer one piece of advice to Tom and every packaging producer facing similar pressures, it’s this: map your actual workflow times, not your assumed ones. Stand on the floor for a full shift and log how many minutes each semi-finished box spends waiting between stages versus being actively worked on. In most manual lines I’ve studied, the value-added time accounts for less than 15% of the total production cycle. The rest is queuing, material handling, and rework.
This matters because it changes the conversation about equipment investment. When a shop says they “can’t afford automation,” the real question is often whether they can afford the hidden costs of manual variability—the rework hours, the overtime to meet deadlines, the customer relationships strained by late deliveries, and the jobs turned away because the required volume exceeds manual capacity.
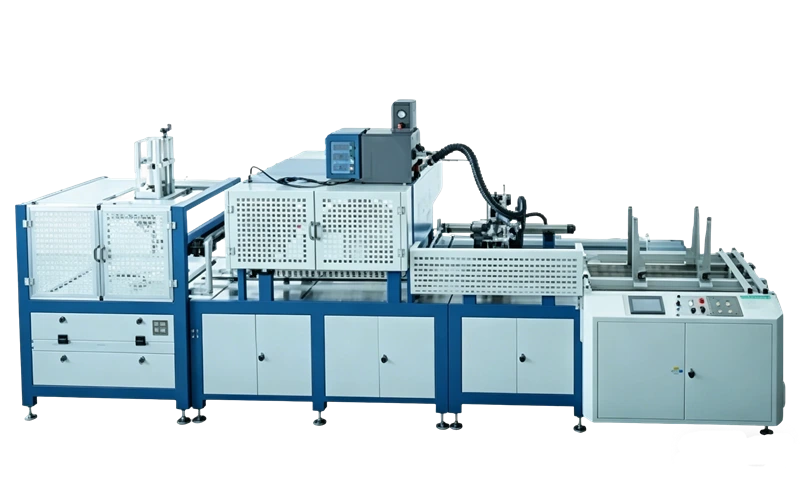
For operations consistently producing above 2,000 boxes per day, the production flow analysis almost always points toward a hybrid model where the wrapping and forming stages are supported by automated box forming systems. The prepress and finishing embellishment stages remain flexible, while the central bottleneck gets the technological support it needs.
If you’re currently evaluating where your line constraints actually sit and what options exist to address them, you can explore how different box forming configurations handle various volume requirements to get a clearer picture of what’s applicable. Sometimes the right move is full integration; other times, it’s targeted automation of just the wrapping cell.
The rigid box market isn’t slowing down. According to Smithers’ packaging reports, the luxury packaging sector has maintained steady growth, with rigid boxes remaining the preferred format for premium spirits, cosmetics, electronics, and specialty gifts. The producers who thrive won’t necessarily be the ones with the fastest presses—they’ll be the ones whose box-making workflow runs as smoothly as their printing workflow already does.
And for Tom? He eventually automated the wrapping stage and recalculated his throughput. Those pallets that used to sit for three days now move through in a single shift. He told me recently that his real regret wasn’t the investment cost, but the two years of margin he left on the floor by waiting.
Disclaimer: This article is for informational purposes only. Production figures mentioned are based on industry averages and specific conditions, machine configurations, materials, and operator skill levels may yield different results. Always consult with equipment specialists for performance data relevant to your specific application.