You know that frustrating moment: you’ve measured twice, cut once, glued up a beautiful rigid box, only to find the folded corners bulge, crack, or just look slightly… homemade. More often than not, the culprit isn’t your gluing or your board quality — it’s the groove you’re folding along. A ragged, shallow, or imprecise groove will fight you every time you try to make a crisp 90-degree fold. Get the groove right, and the cardboard will practically fold itself, leaving you with sharp corners and a premium, store-bought feel.
The good news is that creating neat, repeatable grooves isn’t magic; it’s a combination of proper technique, a few reliable tools, and knowing when your process demands something more robust. If you’re currently relying on freehand scoring and the results are inconsistent, it might be time to explore dedicated precision cardboard creasing tools that take the guesswork out of the equation.
Why Neat Grooves Are the Backbone of Professional Boxes
Before we dive into the “how,” let’s briefly touch on the “why.” When you fold thick cardboard — typically greyboard or chipboard from 1mm to 3mm thick — the outer layer of paper must stretch while the inner layer compresses. If you simply score a line with a blunt tool, you’re only crushing the material unevenly. The result is an erratic fold line that can tear the surface liner, create a rounded “pillowy” corner instead of a razor-sharp edge, and weaken the box structure over time.
A proper V-shaped channel removes a tiny wedge of material from the back of the board, leaving just a thin, intact hinge of the face paper. This turns a forced, stressful bend into a controlled, effortless fold. According to the Paperboard Packaging Council’s best-practice guidelines, groove geometry — depth, angle, and cleanliness — directly influences both the visual appeal and the compression strength of the finished box. In short, neat grooves make your boxes look better and stay square longer.
Step-by-Step: Creating Manual Grooves Like a Pro
If you’re producing small batches or custom one-off boxes, a manual approach can yield excellent results with practice. Here’s how to get it consistently right.
What you’ll need:
-
A sharp utility knife with fresh blades (snap-off types work well for depth control)
-
A heavy-duty non-slip metal ruler
-
A cutting mat
-
Your cardboard sheet
-
A scrap piece of the same board for depth testing
Step 1: Mark your lines with precision
Use a sharp pencil and your ruler to mark the groove lines on the back (inside) of the cardboard. Accuracy here is everything: a 0.5mm deviation at the groove translates to a visibly skewed box. For a standard box with wall thickness T, your groove should be offset from the outer dimension by T minus the thickness of the paper you’ll leave. This is commonly called the “crease allowance.”
Step 2: Set your depth
Take a scrap piece and practice cutting a groove. The goal is to remove the interior plies of the board while leaving the final paper liner completely intact. A good rule of thumb is to leave about 0.2mm–0.3mm of material, including the face paper. You can test by gently folding the scrap: it should bend without resistance and the surface paper should show no cracks.
Step 3: Execute the cut — in one pass
Place the ruler firmly along your mark and, using moderate pressure, draw the knife along the line. The key is to make a single, smooth, continuous pass. Multiple passes nearly always introduce slight wobbles, widen the groove, or catch and tear the paper. Keep the blade at a consistent angle — typically around 20–30 degrees from vertical — to create a slightly wider V-profile that leaves room for the fold.
Step 4: Clean the channel
After cutting, you’ll often find tiny cardboard “hairs” or dust clinging to the groove edge. Gently run the back of your blade or a folded piece of fine-grit sandpaper along the channel to remove debris. A clean groove folds more accurately and gives a better bonding surface for glue later.
Step 5: Fold and validate
Fold the board along the groove. It should come together easily, forming a tight radius on the outside. If you see whitening or cracking on the surface paper, your cut was too shallow. If the corner feels floppy or you can see a slight gap, you cut too deep. Adjust accordingly for the next piece.
Common Mistakes That Sabotage Your Grooves
Even experienced makers slip into these traps:
-
Dull blades: A blade that is even slightly dull will tear instead of cut, leaving fuzzy groove edges. Change blades every 10–15 grooves on dense board.
-
Inconsistent pressure: Letting up at the start or end of the cut leaves shallow sections that crack on folding. Use a deliberate, steady stroke from edge to edge.
-
Ignoring grain direction: Cardboard has a subtle grain. Grooving parallel to the grain often produces a cleaner fold than going cross-grain. When possible, orient your box panels accordingly.
-
Wrong groove angle: If you’re using a narrow-angle blade to make a simple slit, you haven’t removed enough material. The walls of the groove will press against each other during folding, forcing the corner open. Aim for a V-groove of at least 90 degrees in total for a sharp fold.
When Your Project Outgrows the Craft Knife
Manual grooving is satisfying and gives you full control, but there comes a point where the limitations start to hurt. If you’re making more than a handful of identical boxes, consistency between parts becomes a real struggle. Human hand pressure varies; blades dull imperceptibly; your eye gets tired. The cumulative result is a stack of box blanks that don’t all fold identically, leading to assembly frustration and a less professional final product.
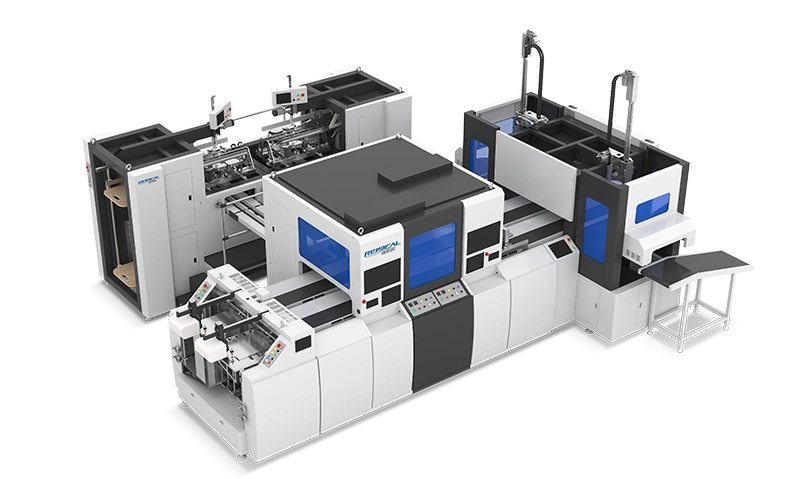
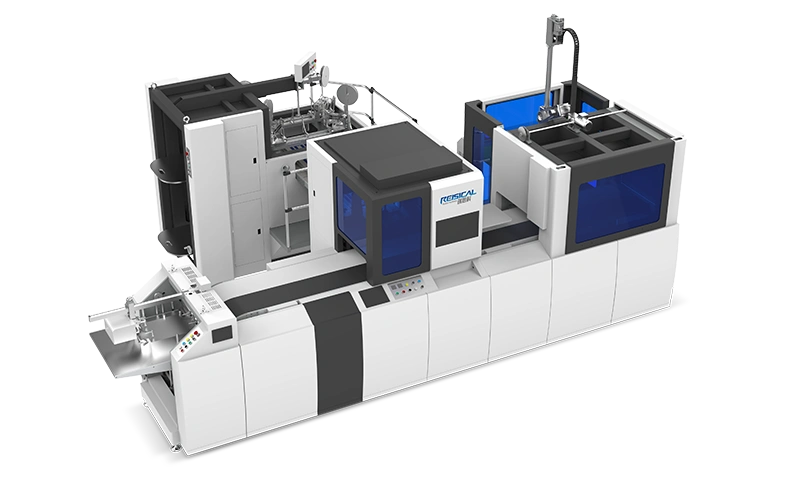
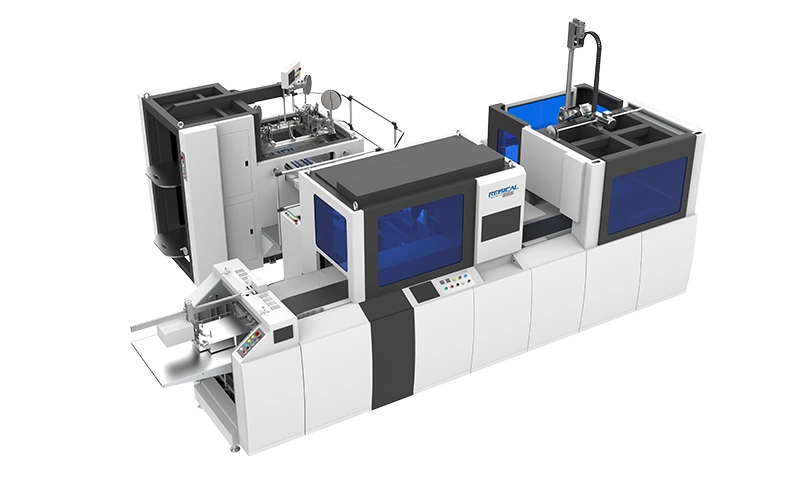
Beyond consistency, there’s the matter of speed. If a client doubles their order or you’re preparing for a seasonal rush, spending minutes on each groove isn’t sustainable. This is exactly the inflection point where shifting to professional grooving machines for rigid boxes transforms your workshop’s capability. These systems are engineered to deliver identical depth, angle, and edge finish on every single piece, at a speed no craft knife can match.
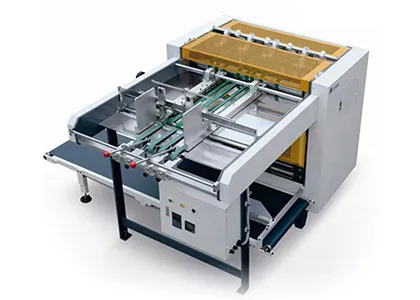
One of the most effective pieces of equipment for this task is a V-grooving machine. Unlike manual scoring that crushes the material, a V-grooving machine uses a pair of precisely angled blades to carve out a clean V-shaped channel, removing the waste material completely. Operators can dial in the exact depth and angle — for instance, a 90° groove for standard rigid boxes, or a wider 100° angle for thicker, more luxurious boards — and replicate it across thousands of cycles. The result is an effortlessly folding board that forms a crisp, straight corner every time.
For growing studios, even a semi-automatic model can slash production time while eliminating the rejects caused by human inconsistency. For larger facilities, integrating automated V-cutting systems into the production line ensures that grooving keeps pace with high-volume gluing and wrapping stations. It’s about making your folding process so predictable that the box practically assembles itself. To explore what modern automated cardboard V-cutting systems can bring to your workflow, it’s worth looking at integrated machine lines that handle everything from grooving to corner taping in one stream.
Keeping Your Grooves Consistent Over the Long Term
Whether you stick with a manual knife or adopt specialized machinery, a few maintenance habits will protect the quality of your grooves:
-
Blade lifecycle tracking: For any cutting tool, keep a simple log. After how many cuts does edge quality start to degrade? Pre-emptive blade changes are cheaper than scrapping boards.
-
Environmental control: Cardboard absorbs moisture from the air, which changes how it cuts. Consistent humidity (around 45–55% RH) in your workspace gives you predictable groove behavior all year round.
-
Calibration checks: If you’re using a machine, validate groove depth and angle weekly with a test fold, especially if you switch board suppliers or thicknesses. A drift of just 0.1mm in blade height changes the fold character.
Ready for Grooves That Fold Themselves?
Mastering the manual groove is a wonderful skill that will elevate any bespoke box project. But if you find that the craft knife is starting to hold your business back rather than driving it forward, it may be time to consider an upgrade. Ruisike’s range of rigid box production solutions is built for makers who refuse to compromise on corner precision. From compact, manual-feed systems perfect for a prototyping studio to high-output lines that integrate V-grooving with folding and pressing, there’s a configuration that fits the ambition of your workshop.
See how precise, repeatable grooving changes the game — explore Ruisike’s rigid box production solutions and find the system that makes flawless box corners your new standard.
Disclaimer: This guide offers general educational advice. Always follow the safety instructions and technical specifications provided by your tool and machinery manufacturers. Conduct your own thorough evaluation before investing in production equipment.