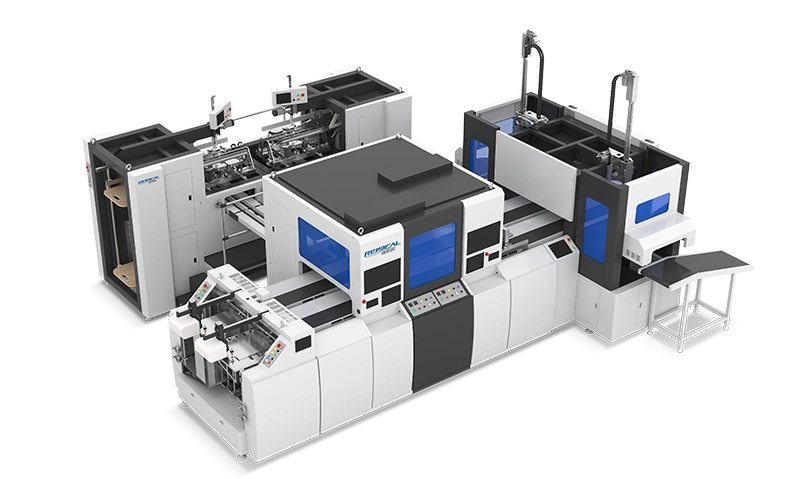
Making the face paper for a rigid box making machine starts with big rolls of raw paper and runs through a bunch of steps before you end up with sheets ready to mount onto boxes. Every stage connects to the next, and quality control is tight throughout—because if the face paper isn't right, the rigid box making machine downstream won't give you clean results.
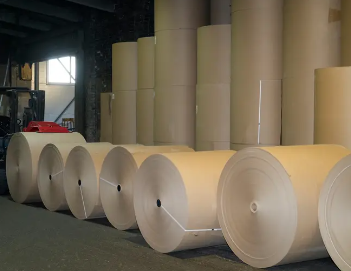
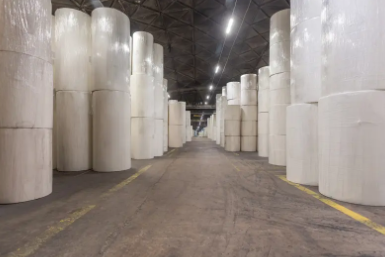
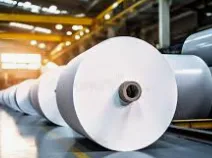
First up is incoming inspection. Someone checks the rolls for the right paper type, weight, and width, and looks for any damage like creases, tears, or moisture issues. If it passes, it gets stored by spec and flagged as ready to go.
Next comes the cutting and printing sequence, and this part can go two ways depending on the job.
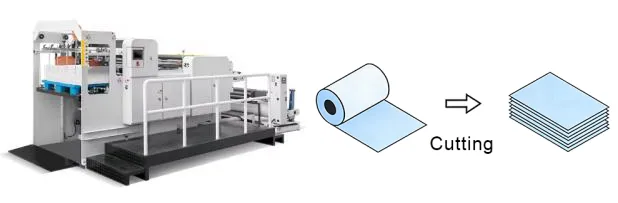
A. One route is slitting first, then printing.
The rolls get hoisted onto a high-speed cutter, secured with an air shaft, and aligned with a guiding system. The machine slits the wide roll into narrower strips that match the printing width, then cross-cuts those into finished sheets. Those sheets get stacked neatly and sent over to the printing area, where they go through prepress, plate-making, and the print run.

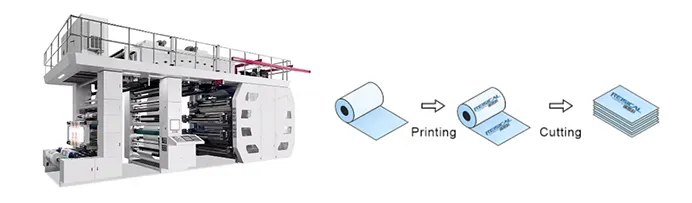
B. The other route is printing first, then slitting.
In this case, the full-width roll goes straight to a web-fed press—printing happens while the paper's still in roll form. After printing, the printed roll moves to a slitter-sheeter, where it gets slit into narrower widths and cross-cut into finished sheets. This approach works better for certain jobs, especially when you're running long print runs and want to keep registration consistent across a wide web.
In either route, the prepress and printing steps follow the same quality standards. The tech team makes CTP plates based on the design files, making sure register marks, color bars, and trim marks are all in place. They dial in the press—balancing ink and water, setting pressure, tweaking the sheet feed—and run a test sheet. After checking that the first print matches the color and register specs, they kick off the actual print run. During production, they pull samples regularly to catch any smudging, missing prints, or color drift. Finished sheets lay flat for a bit to avoid curling or getting marked up.
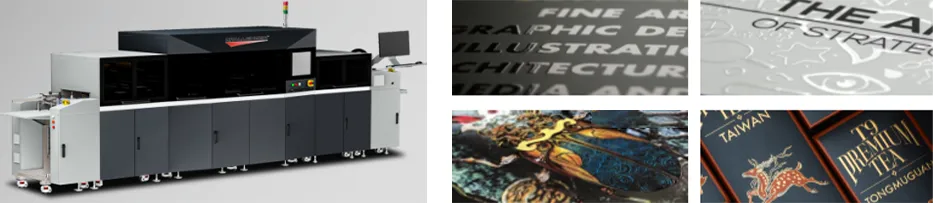
After printing comes the finishing stage. Depending on what the job calls for, they might run sheets through a laminator to add gloss or matte film for durability and feel. Then it's on to coating, UV, foil stamping, embossing—whatever the design needs. Each step takes a bit of dialing in on temperature, pressure, and curing time to make sure everything sticks and looks right. Good finishing makes a big difference when the face paper eventually feeds into a rigid box making machine—everything folds cleaner and bonds better.
Last stop is die-cutting and stripping. The finished sheets go into a die cutter fitted with the right die and creasing rules. It cuts the shape and creases the fold lines in one shot while stripping away the waste. What comes out is a clean, ready-to-use face sheet with neat fold lines and enough overlap to wrap around the box edges. At this point, it's ready for a rigid box forming machine to do its thing—mounting, wrapping, and turning it all into finished boxes.